A prototype can look excellent and still refuse to close. Check the mating face, where an exterior finish may have continued into a contact area. Mark those two jobs before the part goes to finishing. A boundary that can be found on the real component is more useful than a carefully shaded rendering. It tells the finishing team what should be seen and what must remain available for the interface.
Give every surface an explicit status
Show the appearance faces and the interfaces on the same labelled view. Mark where the specified colour or texture belongs, then identify the lands, recesses and contact areas that have another role. Do not leave an engineer to interpret an uncoloured screenshot: the face might be intentionally untreated, hidden from view or simply missing from the annotation.
The part still needs a defined manufacturing route. Momaking provides prototype finishing services, including colour and surface-treatment discussions for prototype projects. Send the proposed surface map for engineering confirmation rather than assuming that every boundary can be produced exactly as drawn. The process, material and geometry all belong in that conversation.
| Surface in the assembly | Information to show | Point requiring confirmation |
| Visible outer face | Colour and appearance reference | Proposed finish is suitable |
| Closing land | Counterpart and contact area | Treatment exclusion is workable |
| Recess or opening | Labelled boundary view | Edge can be identified consistently |
| Mixed-purpose rim | Appearance and fit requirements | Agreed compromise or revised detail |
| Hidden internal face | Explicit treatment status | No inference from the rendering |
A surface map should still make sense without its colours. Print it in black and white and check whether labels such as A3 or FIT-02 still identify the faces. Carry those labels into the quotation and inspection note. If the finishing team has to ask which grey area the note means, add the missing view before releasing the drawing.
Separate a visible face from a mating face
A mating face is best identified through its function and counterpart. Name the adjoining part and show where contact or clearance matters. For a two-piece enclosure, distinguish the external edge from the internal closing land. A single arrow labelled “no paint here” can otherwise point to either side of the same edge.
Resolve faces with two competing roles
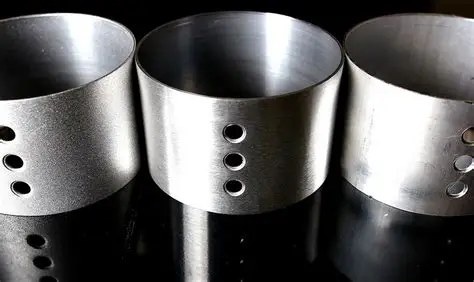
Some faces have two jobs. A rim may be visible after assembly and also locate the cover, so neither “finish all visible areas” nor “leave every interface bare” fully describes the requirement. Show the engineer the appearance reference and the mating detail together. Ask for an agreed boundary before finishing; removing treatment afterward is a separate proposal that needs confirmation.
Draw the boundary where the assembler can find it
The mask boundary needs to land on something the team can find on the part. That might be a feature identified in a labelled view or a section through the edge. A translucent rendering can show the intended appearance while leaving that stopping point unclear. Add the view that resolves the edge rather than relying on more shading.
Name the operation that must stop at the marked boundary. “Bare” can be too broad when a part has several proposed operations. State whether a surface is excluded from paint, texture or another specified process, then ask the engineer to confirm the complete treatment sequence. Avoid implying that a masked surface will have a particular dimensional or material condition without agreement.
Keep finish requirements beside the fit requirements
Describe the fit check separately from the appearance check. For example, record whether the cover reaches its intended land, then attach the drawing or clearance requirement that governs the result. Do not invent a tolerance to make the finishing request sound complete. “Keep every dimension” leaves the local question unanswered.
The manufacturing discussion should include the part's starting condition. For a CNC machined prototype, identify the proposed material and relevant machined interfaces before approving a finish. Do not assume that the same masking arrangement will behave identically on another material or on a differently produced version of the geometry.
Keep three items together when seeking confirmation:
• A labelled view showing treated and excluded surfaces.
• The interface requirement and its mating counterpart.
• The proposed appearance reference for the visible area.
Uncertain boundaries should remain open questions. Ask what can be achieved and how the result will be checked before accepting the proposal. Leave an unconfirmed masking allowance out of the order. The agreed method must suit this geometry and the selected process.
Inspect the hidden interface before appearance approval
At receiving, start with the map. Inspect the marked exclusions and the finish edges, then compare the visible faces with the approved appearance reference. Write those observations as separate lines. A good-looking outside face cannot confirm what happened at a hidden contact surface.
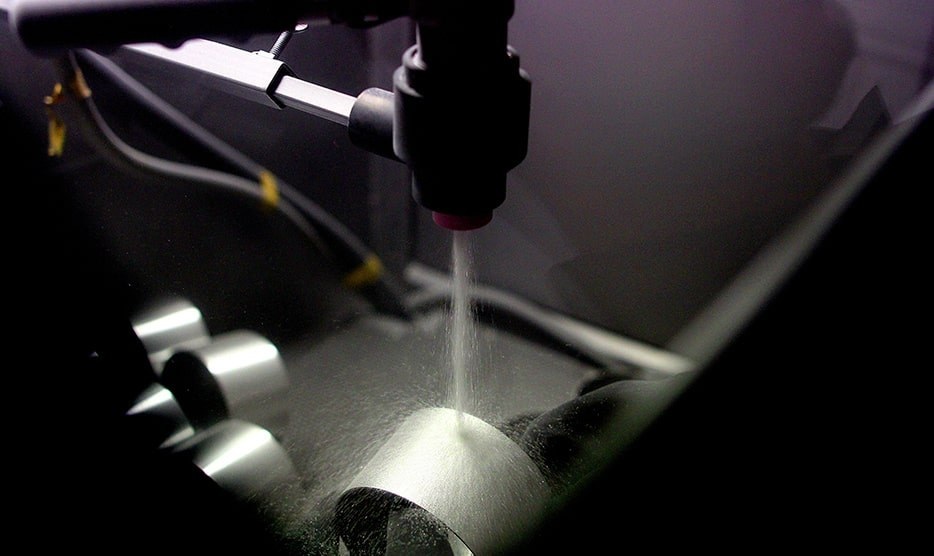
Use the intended counterpart for the fit check where it is available. Record both part identities and the observed result: did the cover reach its designated seating position? If it did not, keep the received condition intact and refer the discrepancy for review. Scraping an edge or adding another coating before that discussion can make the original condition harder to establish.
The brief may need refinement for the next sample. Momaking's prototype design guidance provides a starting point for design discussions, while the project-specific surface instructions remain the reference for this part. Close any unclear treatment boundary before repeating the finish on additional samples.
Release a surface map that protects the interface
Release the finish brief when the visible treatment and the excluded faces are equally clear. Confirm the boundary between them and keep the agreed interface check with the drawing. At inspection, record appearance and fit as separate decisions. That leaves the next team a usable instruction instead of an attractive prototype whose hidden contact faces remain a question.
Discuss the masked surfaces with Momaking using the labelled part views, mating details and proposed finish reference.
FAQ
Q:Does an uncoloured face mean that it stays bare?
Only if the legend explicitly says so. Give every relevant face a treatment status rather than relying on missing colour in a rendering.
Q:Can a visible edge also need a finish exclusion?
Yes, when it serves an interface. Show its appearance and fit roles together and obtain an agreed treatment boundary for that detail.
Q:Should a universal coating allowance be added?
Use project-specific engineering confirmation. The material, process, geometry and actual interface requirement need review before an allowance is specified.
Q:Is exterior appearance enough to approve the part?
Check the agreed exclusions and mating condition separately. A successful colour review does not establish that the hidden surfaces meet their instructions.
Q:What should accompany a masking enquiry?
Send labelled surface views, the relevant counterpart, the required interface condition and the intended finish. Highlight boundaries that still need feasibility confirmation.